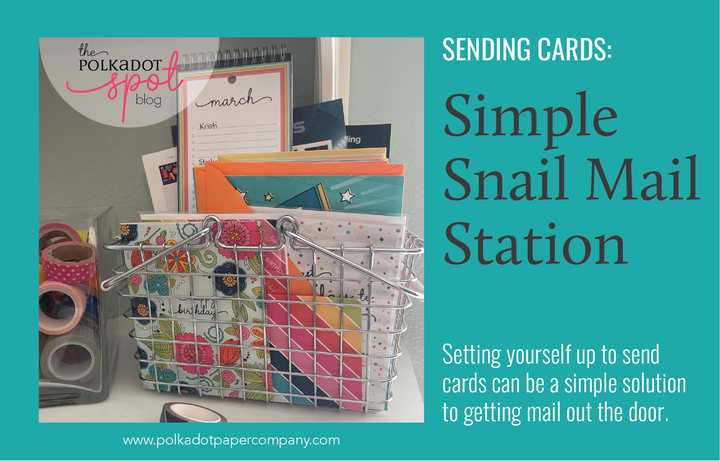
 Sometimes having the best intentions of getting cards into the mailbox is easier said than done. I've found that there are some things I do to make sure that I actually get the cards in the mail and I thought I'd share them with you! KEEP IT TOGETHER This goes without saying, but it's so easy to spread your supplies out over a few different places, but keeping everything you need in one container could be the thing that helps the most. For a while now, I've been keeping all my cards, stamps, and my perpetual calendar in this adorable basket. While the basket may move from place to place, I know that what I need is inside it wherever it may be! WHAT'S IN MY BASKET? The essentials for mailing, of course! I've had a perpetual calendar for over 20 years. It's one of my most favorite things. A perpetual calendar keeps all your important dates in one calendar that you can use year after year without having to transfer dates. Sure, many of our digital platforms help us with that too, but there's just something satisfying about having a physical list of these important days. I spend so much time on my devices that I don't want to use them when I'm sending snail mail. I have a variety of perpetual calendars in my shop that are made specifically for my love of these calendars. They have a hole for hanging though I'm currently storing mine in my basket of mailing supplies so that everything is accessible!  Cards for all occasions! Since the pandemic, I don't spend a lot of time in stores, so when I do, I stock up on a variety of greeting cards for my stash. When I have multiple cards to choose from, it's so much easier to find just the right card for the right person. As a stationery seller, and friend of many stationers and small businesses, I love to have specialty cards in my collection, but in reality, those cards are pricy and I have to have some lower price-point cards as well. My most favorite place to buy those cards is the Dollar Tree. You can get quality cards for $1 or less and it's a great way to fill your basket so you're ready for all the mail sending occasions! I definitely recommend having some blank note cards or thank you notes in your basket as well! Stamps, stamps, stamps! Keep your postage stamps in your card basket so you always know where they are and when you're running low. I recently moved my stamps into my basket (uh, hello!) and it really has been helpful! I like to have a few different designs from fun, to love, and some that are just pretty to have on hand! Speaking of stamps, do you have a self-inking address stamp? I have a couple from Expressionery that I love and use all the time! I've got one with my name, one for my business, and one for our family. Address books! Keeping your address book with your cards and stamps is well, it's a game changer. I can't tell you how many times I've gone searching for my address book until I realized it would fit perfectly into my card basket! YES! For the same reason I love having a physical birthday calendar, I love my paper address book. I've had it for so many years and the only reason I'd get a new one is if I design one! 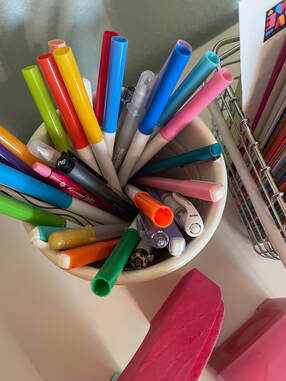 That's it! See how simple it is to get your snail mail life in order? I love having the basket because I can move it around from place to place. Sometimes I work on cards at my desk, but sometimes it's in the recliner while I watch tv. The key is that everything I need is inside no matter where the basket is! I also keep a cup of my favorite pens and markers nearby, but they could just as easily fit into a pencil pouch into the basket too. I hope this has been helpful! I'd love to hear about what's in your card basket! Share with me below or let's connect on Instagram! Talk with you soon! 
0 Comments
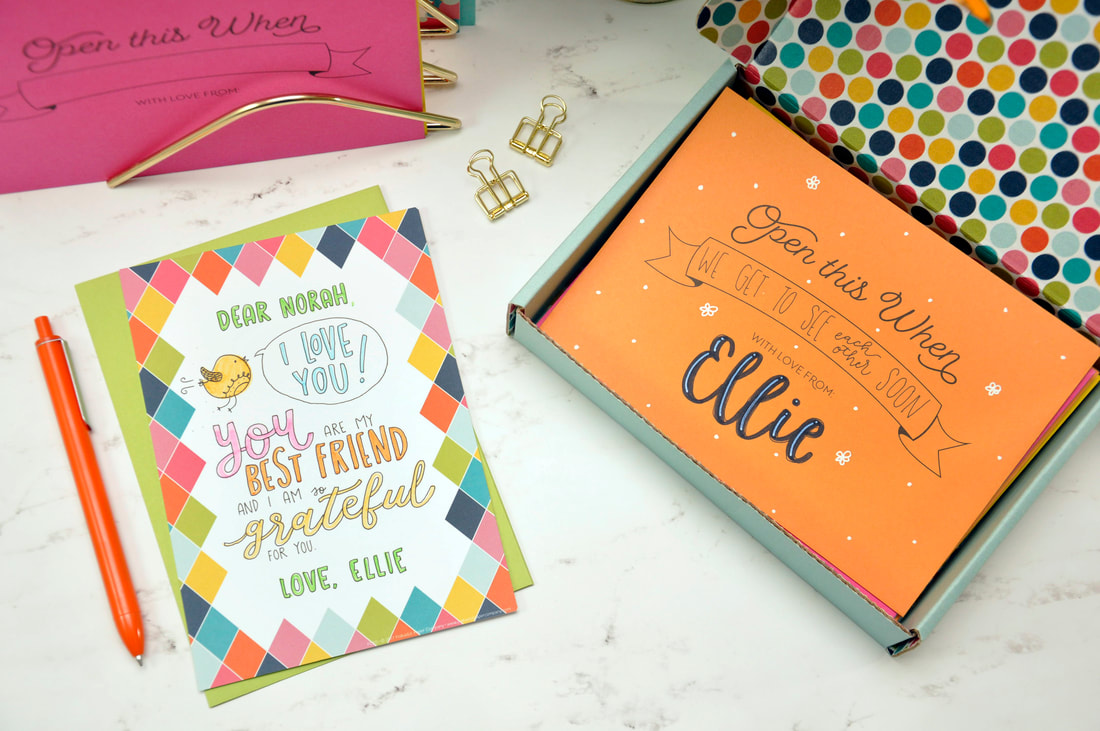
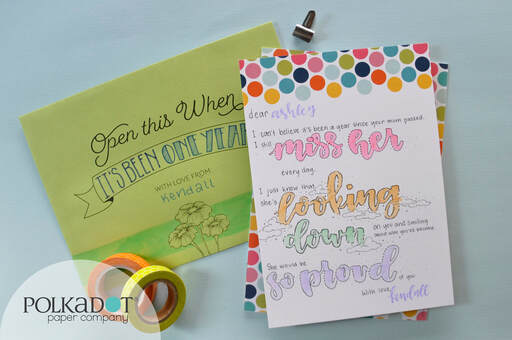
We'd be kidding ourselves if we said that life was all confetti and rainbows. Wouldn't it be nice though? We go through a lot in our lives, much of it we hope is happy and worth celebrating, but some of it is really, really hard. This letter kit design was intended to show you what a box of love can look like for someone who is grieving. Using our Open When Folio Kit, our friend Kendall poured love into these messages to show us just how we can support our family and friends. As we approach a year since my own dad passed away, I find myself thinking of him more and more, remembering things about him that I loved and struggling through the memories of his final days. Without a doubt, when people share his picture or tell stories of good times with him, that helps me push through the heartache. 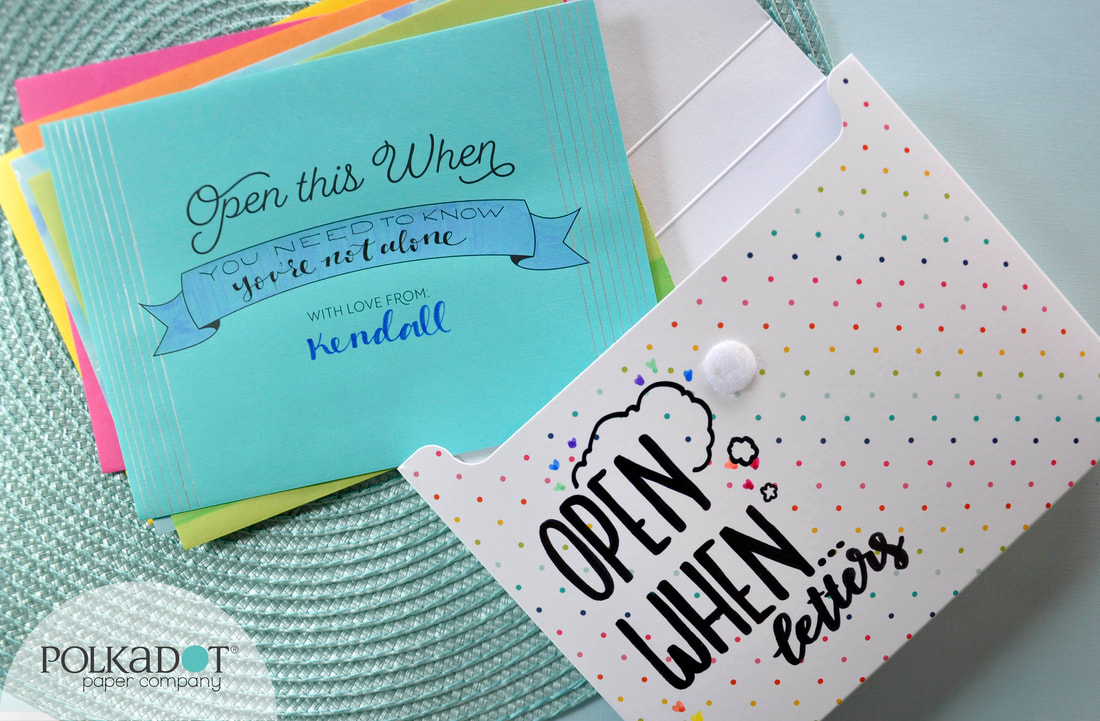
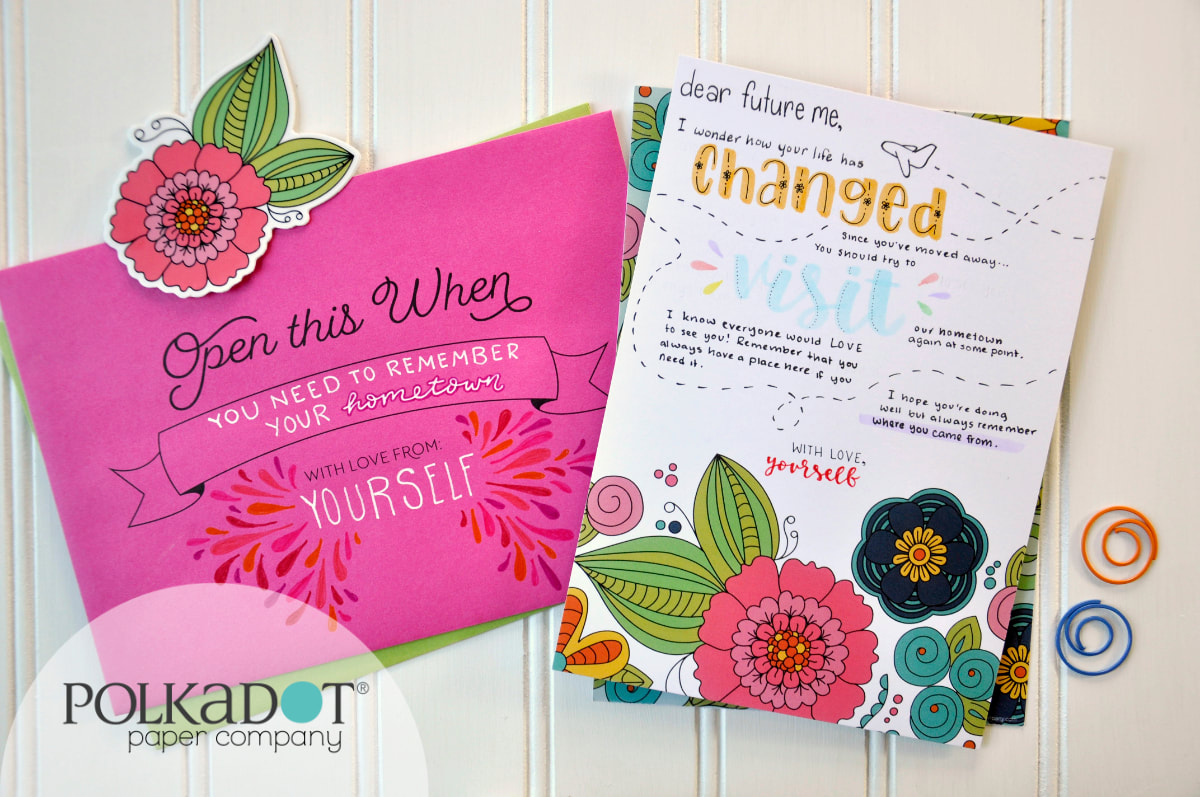
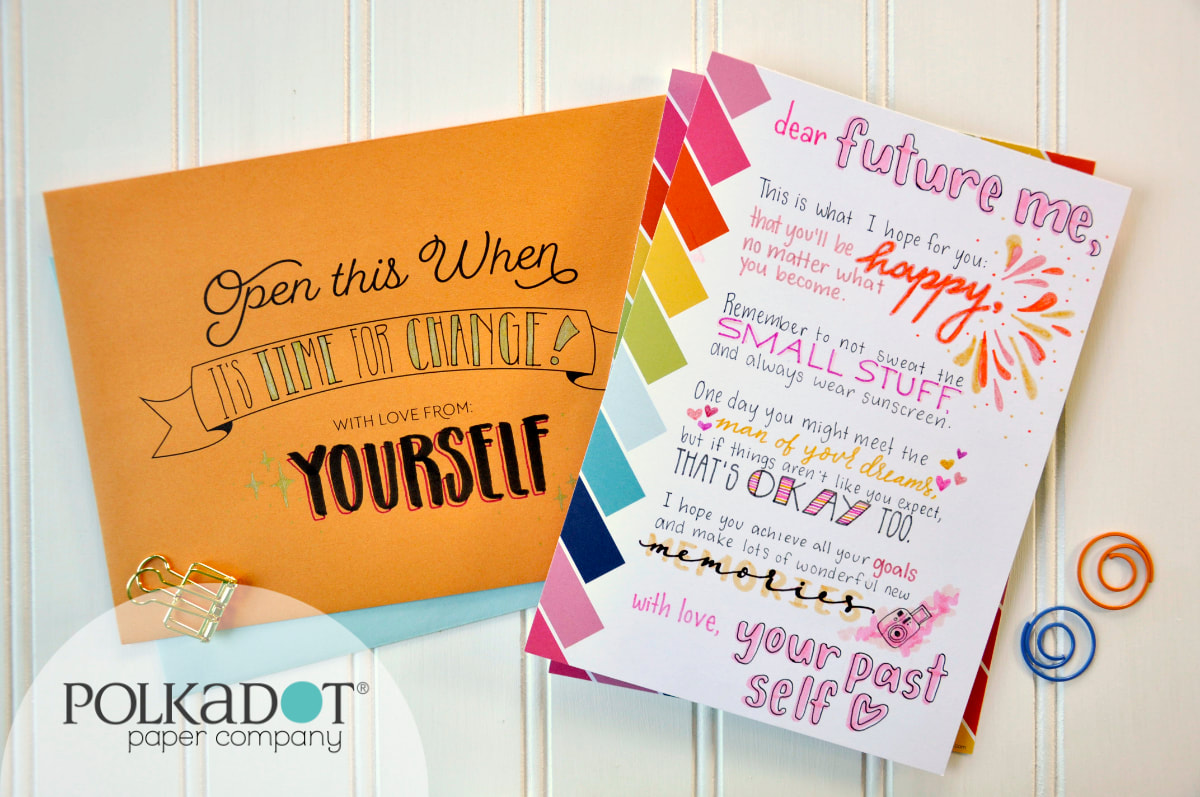
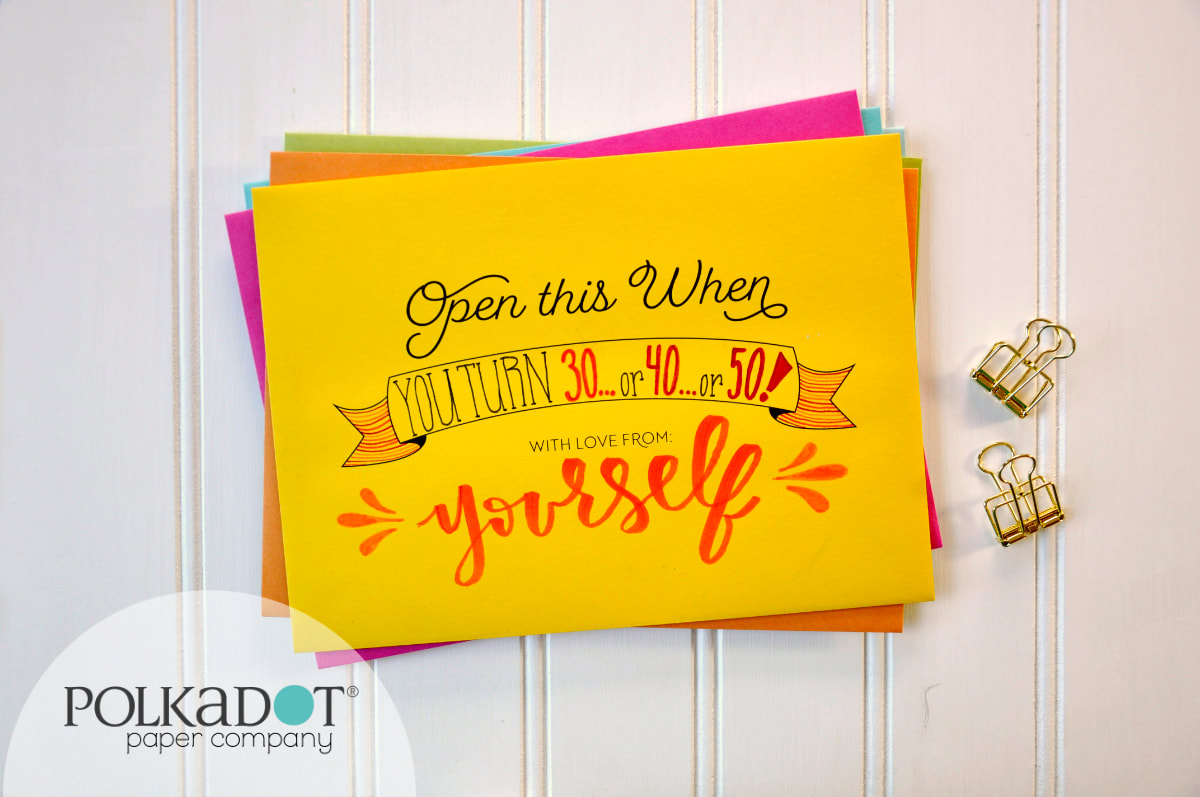
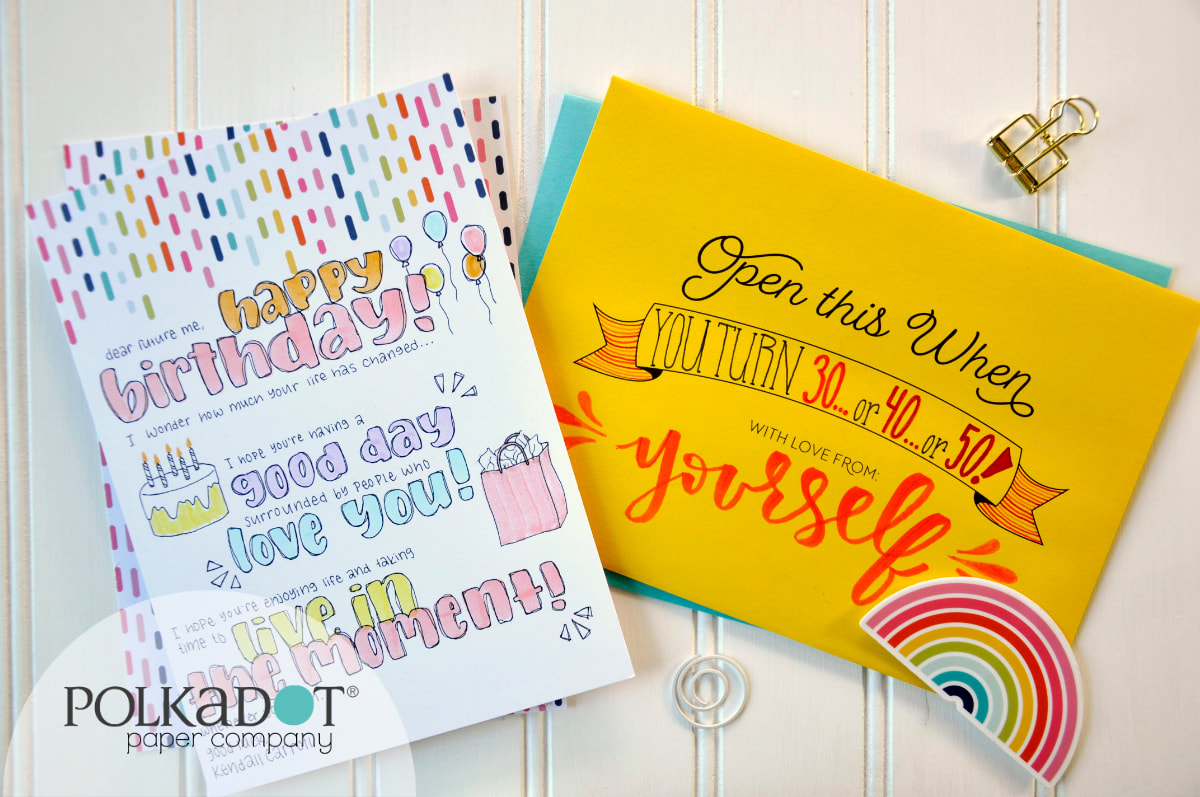
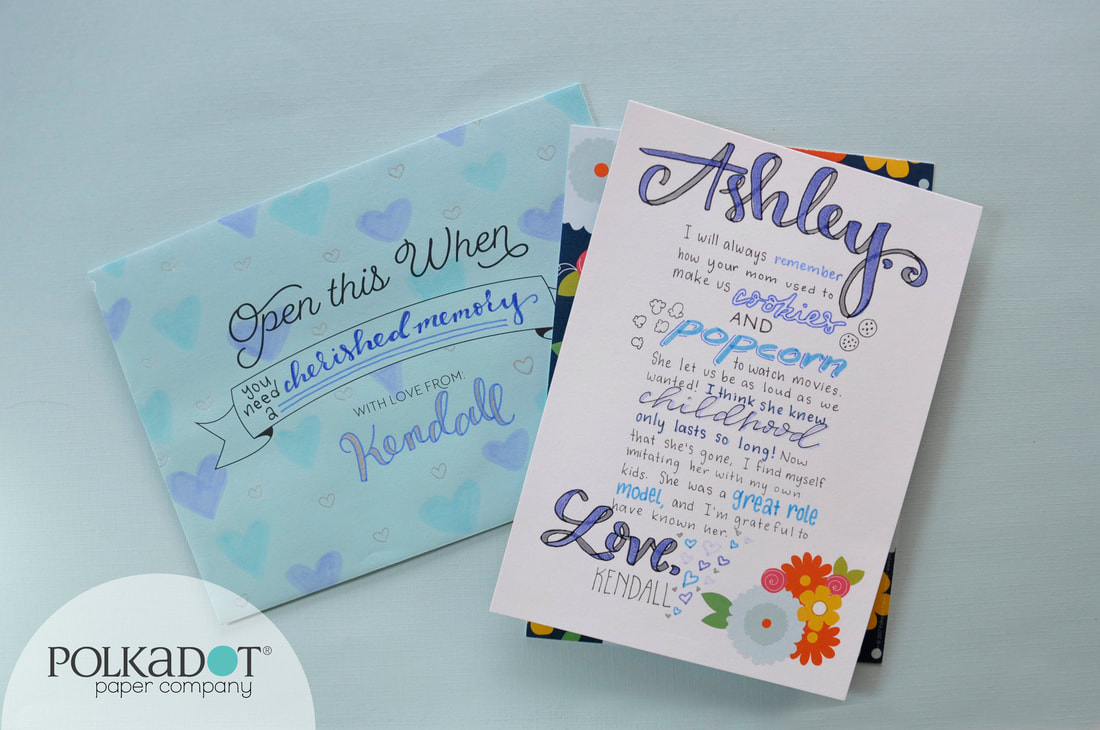  To all of who have lost someone dear to your heart, I am thinking of you. You are not alone. 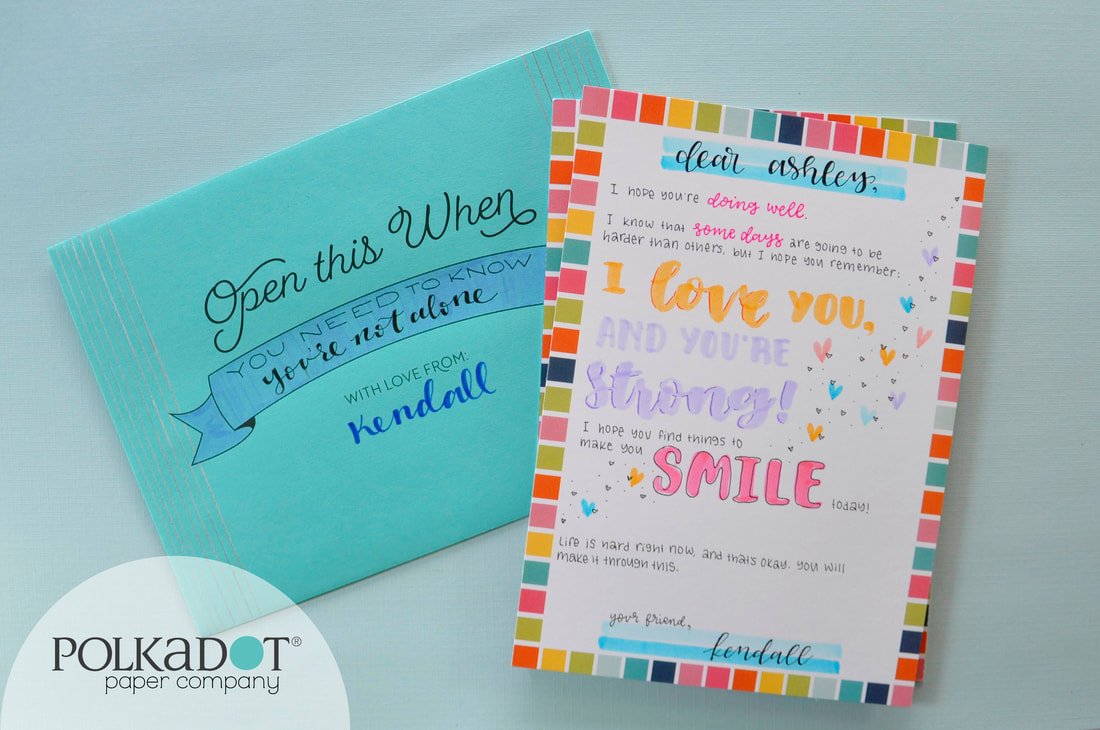 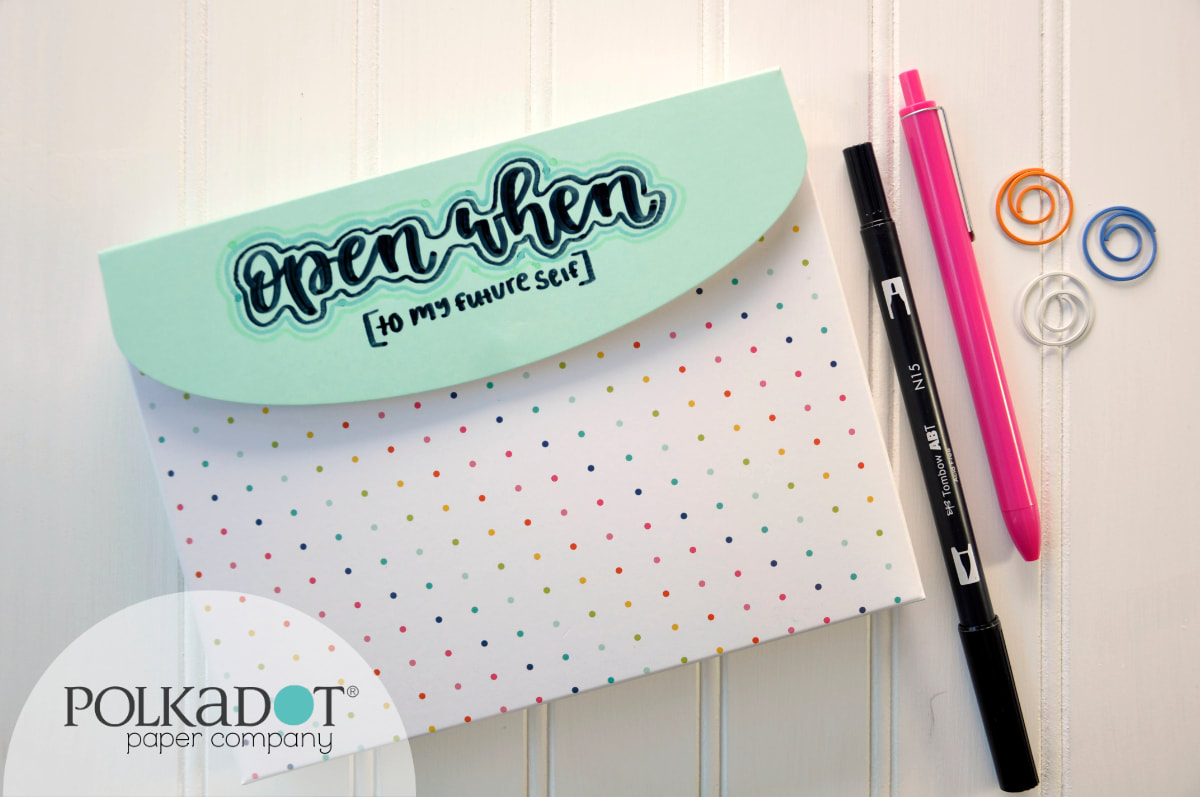 Sometimes a little self-care can come in unexpected ways. I love this idea of writing a set of "Open When" letters to yourself. What might you say? How can today you encourage future you to keep pushing forward? If you pep-talked yourself like you would do for a friend, imagine how much kinder we would be to ourselves. These letters were written on one of our stationery kits, check them out, or make your own!
 Brenna is even sharing with us her most used pens! I *may* have run out and grabbed a 50 pack of SuperTips as soon as she sent me this.
My most used pens (and all great for beginners):
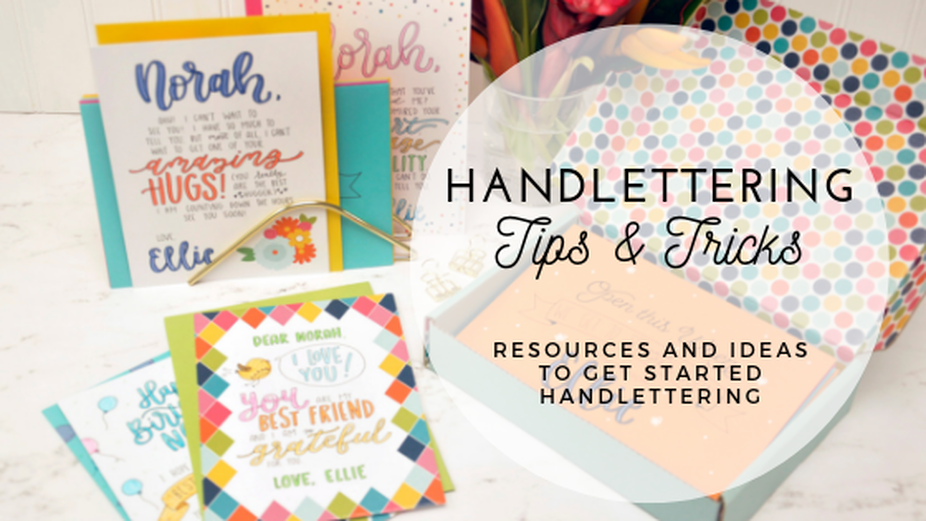
So what do you think? Are you ready to give hand lettering a try? Share your progress by tagging @polkadotpapercompany on Istagram and using the hashtag #polkadotpaperlove 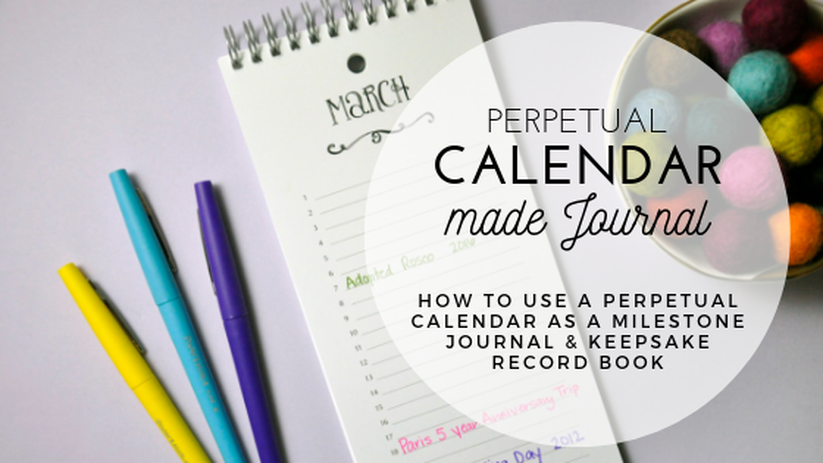 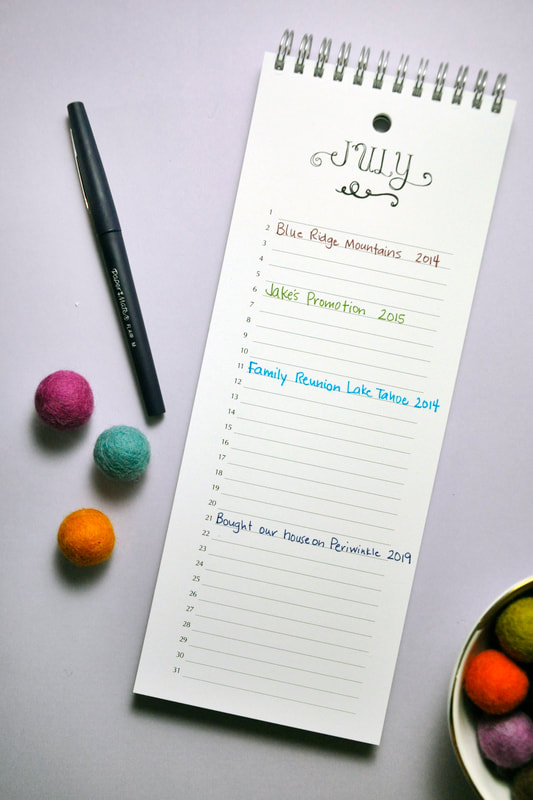 In January, I sent out a quick survey to my followers asking you how I can be the best help for you? How can I give you what you need? And wow, you guys had some great things to say! The most popular request was "how do I use your products?" along with "more blog posts!" So, I'm here to do BOTH of those things for you right now! Up today, an a-typical use of the popular Perpetual Birthday and Anniversary Calendar. These have been long-time staples in my shop, I've sold a few thousand of them, and well, that feels pretty good! So what if sending cards isn't really your thing? I've come up with a really fun idea for you, read on and let me know what you think! Here's how you can use a perpetual calendar as a record for something like, your relationship with your significant other. Instead of filling in birthdays of people you know, use the dates to fill in milestones in your relationship. Your first date, your engagement date, your wedding day. Keep adding year after year, vacations, pet adoptions, birth of your children. Add in the purchase or sale of a home, a job promotion, a move. Each month as you flip through the calendar is a trip down memory lane where you can see all the amazing things you've done together. 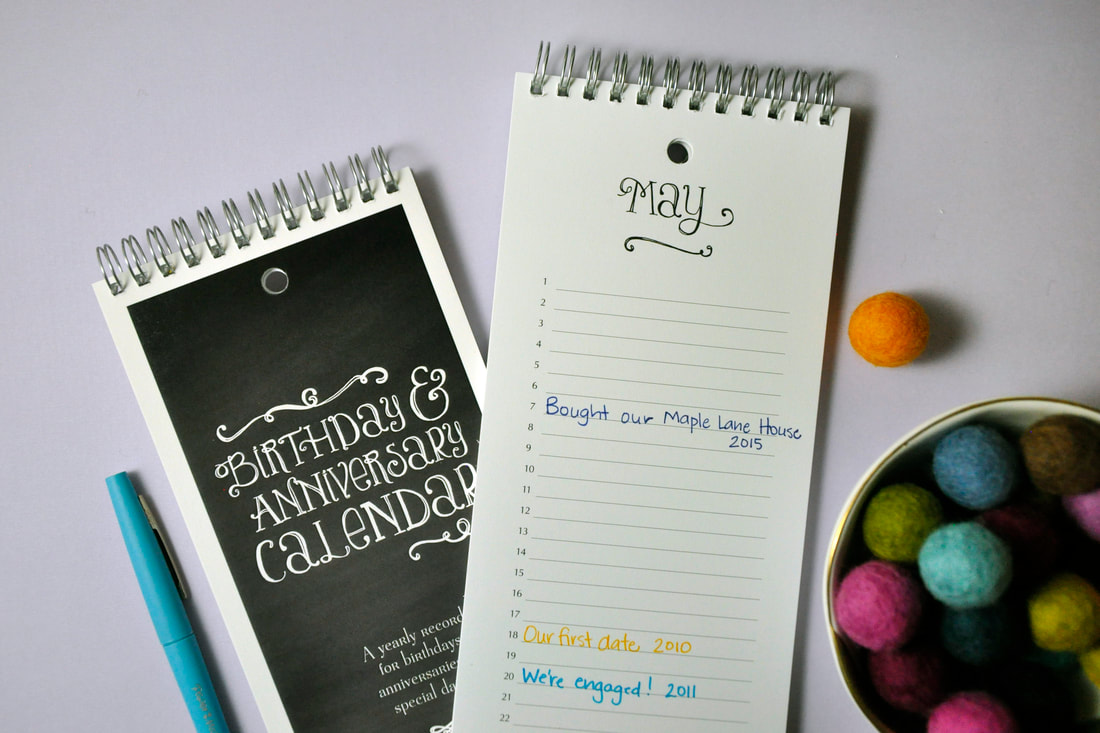 If you know me, you know I am really sentimental. I LOVE keeping records and looking back at all my favorite memories, but the problem with keeping up with all of that is TIME. Precious time. Scrapbooking takes time, blogging about travels takes time, making photos books and albums takes time. And more often than not, by the time I have time, I forget to add things I really would have loved to remember.
The best part about using a perpetual calendar to jot down these milestones, is that it only takes a few seconds. I may be busy, but I have a few seconds to jot down something that will bring me joy for many years to come. As the years go on, the lines fill up, dates will overlap, but what an awesome record of the life you made together! |
Categories
All
Archives
November 2021
|

 RSS Feed