Polkadot Paper Company
  • Shop Now
  • Subscribe
  • The Polkadot Spot
  • Shop Now
  • Subscribe
  • The Polkadot Spot

Hand Lettering Tips From a Pro

4/9/2019

0 Comments

 
Picture
Hand lettering is so popular and for good reason! Looking at beautifully written words just makes my heart happy. When I knew I'd be taking photos for our new Open this When kits, I knew I needed some beautiful writing! Istagram to the rescue! I found this lovely hand-letterer willing to take on the job and even better, she shared some amazing tips to help you get started with your very own hand lettering. ​

Here are some tips from the amazingly talented @brennamedia (make sure you check out all her work on Istagram too) who writes for Punkpost.

  • Ombre lettering: To create the two-tone/ombre lettering, people can actually just find two similar colors. Write with the lighter color first. Then, go back and trace over the bottom half with the darker color. If you really want the ombre look, you can go in and add more color with the lighter marker to blend the two tones together. Personally, my style is more of the two-tone look.
  • Straight lines: If you really want straight lines, a lightboard is a great investment. You don't have to have anything fancy. The one I have is $23 and I have used it daily for about two and half years. Once you have it, you just print straight black lines on a sheet and place it under your page while you write. It's sure to impress people!
  • Take your time: Hand lettering and writing in general isn't fast. It takes a while, especially when you're first starting out. Don't get frustrated. Don't rush. Just set aside the time and patiently work your way through you letter or project. The care will pay off. 
  • Practice: No one is great at lettering overnight. I have been writing for Punkpost for years, so my style comes naturally to me now. But that hasn't always been the case. It has taken hours and hours of practice. Any other lettering artist will tell you the same. You just have to start somewhere and keep at it. You'll get better!
  • Coloring doodles: I like to put down the color first with marker and then go over it with my black pen to add in all the structure and details. I find that it avoids smearing the black lines and I don't spend as long coloring into all the little spaces.
  • Doodles: Art doesn't have to be complex. Start with basic shapes, and work from there. The balloon for example is just a circle with a small triangle and a line. Anyone can accomplish it! If you're nervous, spend some time doodling on scrap paper before putting it in your letter.
  • Loved no matter what: At the end of the day,  whoever you send the letter to is going to love it, even if you don't think the doodles or lettering are perfect. You made the extra effort and they will love it. 
This post may contain affiliate links.
Picture

I love the black tracing on the script. It just gives it such a nice touch! And all caps writing? I feel like I write best in caps!
Picture
Picture
Brenna is even sharing with us her most used pens! I *may* have run out and grabbed a 50 pack of SuperTips as soon as she sent me this. 

My most used pens (and all great for beginners):
  • Crayola SuperTips: I used these to make the letters and envelopes I sent you. What's great about these is that they are easy to use, come in lots of colors and are inexpensive. They are great for beginners, but also work as you progress in lettering. This box of 100 that I linked to is also super fun and not that expensive. Obviously you can pick up smaller sets at pretty much any store.
  • Uni-ball Signo gel pen (0.38mm): I use these pens to outline my Crayola SuperTips letters and for the body of my text. I love them because they are super fine and you can create sharp lines and create small details with them.
  • Uni-ball white gel pen: These are by far my favorite white pen. They are fun for extras details. I used them on one of the card I made. They work great on top of colors and on colored paper.
  • Sakura Moonlight gel pens: These gel pens are vibrant and the Moonlight ones specifically are think, making it easy to create bold letters and really have words jump off the page. 
  • Pentel Sign Brush Pens: If people want to try brush lettering, these are my favorite pens with a small brush that pretty easy to control. Plus, it's fun to have a lot of colors.

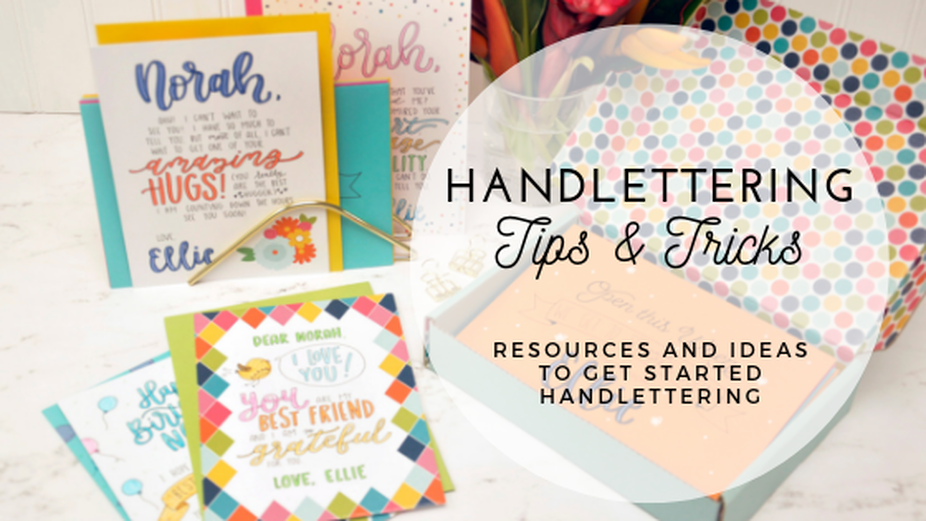
So what do you think? Are you ready to give hand lettering a try? Share your progress by tagging @polkadotpapercompany on Istagram and using the hashtag #polkadotpaperlove
0 Comments


Leave a Reply.

    RSS Feed

    Categories

    All
    Add Style
    Celebrate Today
    Giveaway
    Parties
    PDP Company Updates
    Printables
    Upcoming Markets

    Archives

    November 2021
    October 2021
    August 2021
    July 2021
    September 2020
    July 2020
    April 2019
    March 2019
    January 2019
    May 2018
    April 2017
    December 2016
    November 2016
    September 2016
    August 2016
    July 2016
    June 2016
    May 2016
    January 2016
    December 2015
    October 2015
    July 2015
    April 2015
    March 2015
    January 2015
    October 2014
    September 2014
    August 2014
    July 2014
    May 2014
    April 2014

    RSS Feed

© 2021 Polkadot Paper Company
www.polkadotpapercompany.com
Privacy Policy
Shop our items on following platforms:
Amazon | Etsy